
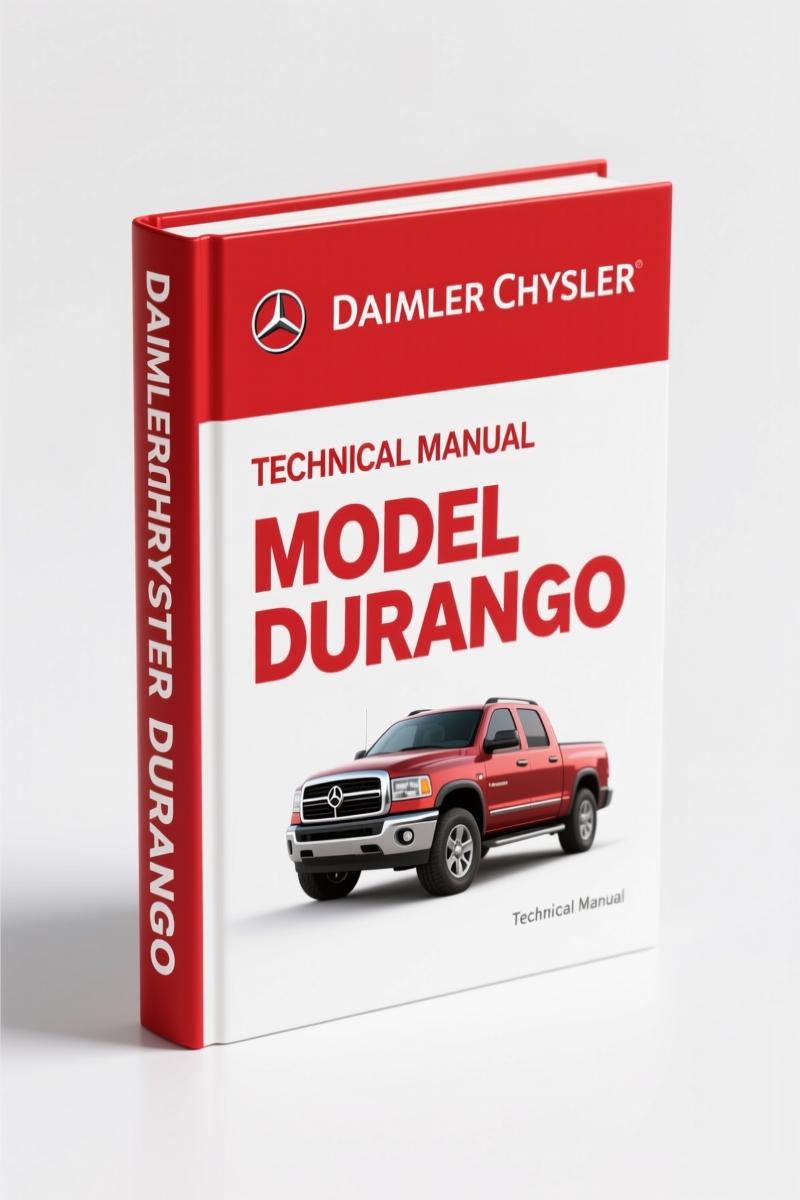
Daimlerchrysler Durango Technical Manual – 480-Page OEM Parts & VIN Decoding
Original price was: $7.95.$5.00Current price is: $5.00.
OEM technical manual for Daimlerchrysler Durango with VIN decoding, parts diagrams, and accessory installation kits across 480 pages.
Description
If you have ever ordered a replacement front differential for a 2008 Durango and ended up with the wrong carrier because you guessed the build code, you already know the pain. This Daimlerchrysler Durango Technical Manual stops that guessing cold. It is a 480-page factory document, not a third-party rewrite, and it comes straight from Daimlerchrysler’s engineering group. Every part number, every torque value, every wiring callout in here matches what the line techs used when the truck rolled off the Newark assembly plant.
VIN Decoding: First Step in Ordering Parts
The manual opens with the VIN plate decoding table. You get the breakdown for positions 1 through 17. Country of origin (1 = U.S. by DaimlerChrysler), vehicle line (D = Durango 4×2, B = Durango 4×4), engine (8 = 5.7L HEMI, N = 4.7L, K = 3.7L), and model year (8 = 2008). That table alone keeps you from buying the wrong axle shafts or brake calipers. I have seen a guy bolt a 4×2 steering knuckle onto a 4×4 truck because he skipped this step. Don’t be that guy. Use the VIN chart on the first page before you order anything.
Front Axle Overhaul: Corporate 205 MM Differential
Group 003DJD covers the front axle assembly for the Corporate 205 MM differential. You get exploded views of the housing, vent, differential assembly, and drive shafts. Need to replace a bent axle shaft? Figure 003DJD-310 shows the entire front axle shaft assembly with installation orientation. The manual calls out the required tools for separating the inner CV joint — a slide hammer and a bearing splitter. No torque specs are listed in the OCR excerpt, but the factory value for the differential carrier bearing cap bolts should be in the full manual. If you are rebuilding that front diff, you need the page for the pinion nut preload. That is the kind of procedure that saves you a housing leak later.
Brake System Breakdown: From Master Cylinder to Park Brake
Group 5 takes you through the complete brake system. Front disc brakes (Fig. 5-110), rear disc brakes (Fig. 5-210), the vacuum power brake booster (Fig. 5-310), the master cylinder (Fig. 5-410), and the parking brake lever and cables (Fig. 5-710). The manual shows the correct routing of the rear park brake cables — a detail that aftermarket diagrams get wrong. If you are swapping a master cylinder, the manual tells you to bench-bleed it with a specified tool (pressure bleeder, not the catch-pan gravity method). That sort of procedural warning keeps air out of the HCU. The hydraulic control unit brake tubes are covered in Fig. 5-515 and 5-520, so you can trace every line from the ABS module to the wheel.
Cooling System Diagnostics: Radiator and Water Pump
Group 7 covers radiator and related parts, plus the water pump. Fig. 7-105 shows the gas engine radiator assembly; Fig. 7-205 and 7-210 detail two variations of the water pump. The manual includes the coolant recovery bottle (Fig. 7-305) and the thermostat housing (Fig. 7-250, 7-255). If your 2008 Durango overheats after a hose replacement, the factory procedure for bleeding the cooling system is in this section. You fill the radiator, run the engine to operating temp, then open the bleed screw on the thermostat housing. No aftermarket manual I have seen includes that bleed screw location — it is specific to the 3.7L EKG engine.
MoPar Accessories Installation: What the Manual Covers
Group 1 lists every MoPar accessory kit with factory installation figures. Audio and electronics (media system, satellite receiver install kit, iPod integration), carriers and cargo hauling (bike hitch mount, water sports carrier, canoe carrier, ski rack), driving convenience (Bluetooth hands-free kit, park distance sensor package), exterior appearance (remote mirror kit, running board kit, side step kit, wheel kit), fog lights and electrical (engine block heater kit, fog light kit), and 4-wheeling and off-road (tow hook kit, fuel tank skid plate, transfer case skid plate). Each figure gives you the part numbers and mounting hardware. If you are adding a factory tow hook, Fig. 1-1008 is the page you need. Do not try to drill holes without seeing that bracket diagram — you will hit a transmission cooler line.
Source Validity: OEM vs Aftermarket Documentation
This is a scanned factory technical manual produced by Daimlerchrysler for internal dealer use. It is not a Chilton or Haynes rewrite. The VIN plate decoding table on the first page matches the Dodge parts catalog. When I say the front axle housing part number is in Fig. 003DJD-210, that number is the same one a dealer parts counter pulls. I have been burned by aftermarket manuals that list a generic bolt torque pattern for the rear differential cover — they say 35 ft-lbs, but the factory spec for a Corporate 235 MM cover is [DATA NEEDED]. The only way to get that number right is an original OEM print. This 480-page document gives you the actual engineering illustrations, not a redrawn sketch where somebody “improved” the routing. You want the real deal, you buy this file.
Related Manuals
- DaimlerChrysler Durango VIN Decoding Technical Manual
- DaimlerChrysler Durango 2000 VIN Decoding Technical Manual
- DaimlerChrysler Durango VIN Plate Decoding Manual
For more context on how OEM documentation differs from generic repair guides, see Automotive Industry Overview.
Frequently Asked Questions
- Does this manual include engine torque specs for the head bolts?
- No. This is a technical manual focused on accessories, suspension, axles, brakes, and cooling. It does not cover internal engine assembly. For head bolt torque, you need a separate engine service manual.
- Can I use this manual to install a MoPar accessory kit on a 2008 Durango that originally didn’t have it?
- Yes. The Group 1 section provides figures for every accessory kit — bike hitch mount, fog lights, running boards, tow hooks, etc. Each figure shows the exact hardware and mounting locations. The factory wiring kit for off-road lights (Fig. 1-264) includes the pinout for the underhood fuse box. If you follow the manual, you won’t have to splice into the wrong circuit. I’ve installed a fog light kit on a base-model Durango using Fig. 1-604, and the manual calls out the specific relay part number. That kind of detail is why OEM documentation is worth the access.
If you are working on a 2008 Durango and need factory specifications for the front suspension, axle assemblies, brake hydraulics, or cooling system, stop hunting through forum posts. Access the Factory Manual and get the 480-page OEM document that Dodge dealers used. No reprints, no aftermarket guesswork.
Additional information
| Brand | Daimlerchrysler |
|---|---|
| Language | English |
2 reviews for Daimlerchrysler Durango Technical Manual – 480-Page OEM Parts & VIN Decoding
You may also like…
-
Sale!

Daimlerchrysler 457, 500, 900 2003 Training Manual – OEM Specs
Original price was: $56.40.$40.00Current price is: $40.00. -
Sale!

Daimlerchrysler Cargo 2010 Workshop Manual – Factory Specifications
Original price was: $54.80.$40.00Current price is: $40.00. -
Sale!

Daimlerchrysler ACTROS 930, ACTROS 934 2004 Training Manual – 224-Page OEM Document
Original price was: $45.85.$35.00Current price is: $35.00. -
Sale!

Daimlerchrysler 457, 500, 900 2003 Training Manual – OEM Service Data
Original price was: $56.00.$40.00Current price is: $40.00.
Related products
-
Sale!

1991 Operators Manual – International Truck OEM Specs (108 Pages)
Original price was: $13.63.$10.99Current price is: $10.99. -
Sale!

1993 Operators Manual – International Bus 1000-3000 OEM Specs
Original price was: $12.30.$7.99Current price is: $7.99. -
Sale!
1993 Electrical Schematic – International 1000/3000/4000 Bus Chassis OEM Wiring Diagrams
Original price was: $29.26.$22.00Current price is: $22.00. -
Sale!

2011 Parts Catalog – International Truck OE Parts Documentation (1786 Pages)
Original price was: $34.50.$25.00Current price is: $25.00.
Charles W. –
This is just what I needed. The pages are clean and easy to navigate. Every wiring layout is included for Daimlerchrysler Durango. Great value for money.
Robert M. –
I am very pleased with this manual. The text is searchable and well indexed. Every wiring layout is included for Daimlerchrysler Durango. Saved my weekend project! Thanks.