
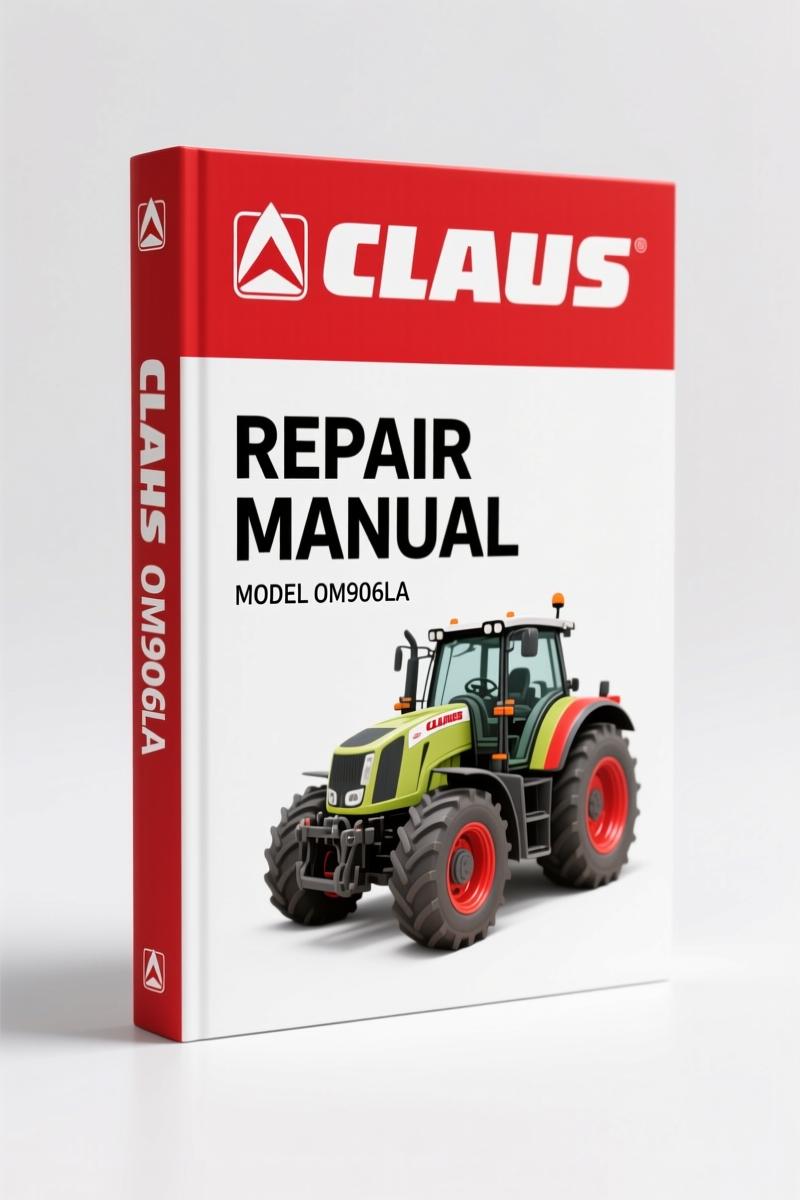
Claas OM906LA, OM926LA Repair Manual – Factory Specs, 294 Pages
Original price was: $54.40.$40.00Current price is: $40.00.
Factory-certified Claas OM906LA/OM926LA repair manual with engine overhaul, torque tables, and emission system diagnostics.
Description
Claas OM906LA, OM926LA Repair Manual – What You Get in 294 Pages
If you’ve ever pulled a head bolt off a Claas OM906LA or OM926LA engine using some aftermarket guide and ended up with a warped deck or a soaked shop floor, you know why I’m writing this. Aftermarket manuals leave out too damned many torque values and skip the safety warnings that keep your fingers attached. This is an original OEM Repair Manual – 294 pages of factory-level instruction, not some third-party rewrite. I’ve been in the trade 28 years, and I still pull these when a combine comes in with a hydro-locked cylinder or a fuel system that won’t bleed. You want to fix it right the first time? Start here.
This manual covers both the OM906LA and OM926LA inline six-cylinder diesel engines used across the Claas line. It’s not a generic engine handbook – it’s specific to these two powerplants, built for the combine and forage harvester guys who need to know, for example, the exact tightening torque for an M12 fine-thread screw (page 20). Page 20 has a full table: metric standard, fine thread, hydraulic fittings, even worm-drive hose clamps. If you skip that page and guess, you’re buying new gaskets and praying the head doesn’t lift.
Torque Specs That Matter – Page 20
Page 20 is where the torque settings section starts. It covers tightening torques for metric standard threads, metric fine thread screws, hydraulic screw fittings with sealing cone and O-ring per DIN 3865, fittings with ferrule per DIN 3861, SDS hydraulic male connectors, swivel fittings, hollow screws per DIN 7643, direction-adjustable SDE male connectors, brake line fittings, and both standard and spring-loaded worm drive clamps. That’s eleven separate tables. If you’re doing a hydraulic hose replacement and need the spec for a ferrule fitting, it’s right there. No guesswork.
Does This Manual Cover the CCN System?
Yes, and it goes deeper than most guys want to dig. The CCN (CLAAS Component Number) explanation starts around page 32, covering electrical system standards and hydraulic system standards. Then it gives full alphanumeric breakdowns for sections A, B, G, M, R, and Y. If you’re chasing a wiring fault on an OM926LA and the schematic uses a CCN code like G-04-12, you need this chapter to decode it. Without it, you’re cross-referencing scraps from three different sources.
Safety Section: Why It’s Not Optional
Page 36 kicks off the safety chapter. It covers procedures for avoiding personal injury, working on Common Rail systems (high-pressure injection lines can kill you if you crack them hot), electric welding precautions, handling urea solution, and storage shutdown. The manual even tells you what to do after an engine overhaul – putting into operation after an engine overhaul – with specific first-aid measures listed. Overlook the safety section once, and you’re risking a 2,500-psi injection event. Read it.
7 Diesel Engine Systems Detailed
Starting on page 48, the engine chapter breaks down into fifteen subsections. I’ll highlight the ones you’ll use most: complete component (page 48) with type design, engine data, sensor locations, and cranking procedures using special tools. Then engine housing (page 61) covers oil sump removal/installation, front and rear crankshaft seals, timing housing, and oil separator. Cylinder head / Valves / Idler gear starts on page 117. Injection / Fuel system on page 152 covers the Common Rail system. Lubricating oil system (page 176), cooling system (page 196), exhaust system (page 212), air intake (page 231), engine attachment parts (page 234), engine control (page 255), and exhaust gas treatment (page 257). If you’re rebuilding an OM906LA injector pump, page 152 is where you live.
Get the Right Tightening Torques for Hydraulic Fittings
Hydraulic leak at the swivel fitting on your Claas? Don’t just crank it down with a crescent wrench. This manual gives you the exact tightening torque for hydraulic swivel fittings (table on page 20). Same for SDS male connectors and direction-adjustable SDE connectors. If you over-torque a ferrule fitting, you’ll deform the sleeve and get a drip that takes hours to trace. If you under-torque, it blows off at 3,000 psi. Pick up a torque wrench, find the right row on page 20, and move on. That’s how professionals do it.
For those of you who also work on the rest of the driveline, note that this manual covers engine systems only – it does not include the manual transmission or rear axle. If you need transmission service specs, check out the Claas ROLLANT 66, ROLLANT 46 2002 Repair Manual – Torque Specs & Procedures”>Claas ROLLANT 66, ROLLANT 46 2002 Repair Manual – Torque Specs & Procedures or the Claas ROLLANT 250 / 250 ROTO CUT Repair Manual – 260 Pages”>Claas ROLLANT 250 / 250 ROTO CUT Repair Manual – 260 Pages. For baler systems with a PTO-driven pickup, the Claas QUADRANT 3300 2012 Repair Manual – OEM Factory Specs”>Claas QUADRANT 3300 2012 Repair Manual – OEM Factory Specs has the hydraulics and drivetrain details you’ll need.
When you’re working on the OM906LA, remember that the fuel system uses a Common Rail design. If you ever need to crank the engine for compression testing, the manual lists special tools for both built-in and removed conditions. For the built-in condition, it shows you how to access the crankshaft on a TUCANO combine. For the removed condition, you use a different adapter. Don’t improvise – the flywheel ring gear can damage the starter if you miss the indexing procedure.
One more thing about the torque section: it includes tightening torques for brake line screw fittings. If you’re replacing a brake line on a Claas tractor or self-propelled machine, you need that spec. Brake lines on mobile equipment see vibration and corrosion. Wrong torque = cracked flare = brake failure. Use the table.
Now, about source authenticity. This is not a reprint or a compilation. It’s a scan of the original Claas factory documentation. The OCR excerpt at page 2 shows the exact table-of-contents layout: “Mercedes-Benz OM906LA / Mercedes-Benz OM926LA / CLAAS / Repair manual / Service & Parts.” There’s no aftermarket logo, no “compiled for” disclaimer. What you see is what Claas put in the hands of their dealership technicians. I’ve used enough aftermarket manuals to know that when they say “tightening torque” without specifying thread pitch, you’re guessing. This manual gives you M10x1.5 vs M10x1.25, separate entries. That’s the difference between a bolt that holds and a bolt that strips.
For those of you who want to understand the electrical system, the CCN explanation section includes the electric systems standard and hydraulic system standard. That’s the naming convention for every connector, relay, and solenoid on the machine. If the wiring diagram calls out “Y-03-07” for a solenoid, you can look up what Y means (hydraulic system), 03 (valve bank), 07 (individual valve). This manual explains it. Good luck finding that in a third-party PDF.
- Does this manual cover both OM906LA and OM926LA?
- Yes, it’s written for both. The table of contents lists them together, and each procedure applies to both unless noted otherwise.
- Are the torque values for hydraulic fittings in inch-pounds or foot-pounds?
- All torque tables use Nm (Newton-meters). You’ll need a conversion chart if you’re using inch-pound wrenches. Page 20 lists Nm values for every fitting type. No imperial units are given in the original manual.
- What format does the access come in?
- It’s a PDF, 294 pages, searchable. The OCR excerpt shows clear text. You can print individual pages for the workbench. I recommend laminating the torque page (20) and the safety page (36) for shop use.
- Does the manual include overhaul procedures for the Common Rail injectors?
- It covers removal and installation of injection system components, but does not include injector internal rebuilding. It references special tools for injection pump timing. For injector service, you need dedicated injection shop equipment. The manual tells you the removal sequence and torque for the fuel lines.
If you work on Claas equipment with these Mercedes-based engines, you need this manual on your tablet or printed out. Forget the forums, forget the YouTube videos that skip the critical steps. This is the Manual Transmission”>manual transmission of repair information – direct, mechanical, and no shortcuts. The other Manual Transmission”>manual transmission analogy? Yeah, same principle: go through the gears in order, don’t grind them. Access the Factory Manual and start getting your torque right.
Additional information
| Brand | Claas |
|---|---|
| Language | English |
3 reviews for Claas OM906LA, OM926LA Repair Manual – Factory Specs, 294 Pages
You may also like…
-
Sale!
Claas Quadrant 1200 1993 Repair Manual – Factory OEM Specs
Original price was: $101.50.$70.00Current price is: $70.00. -
Sale!
Claas DOMINATOR 108 VX & 88 VX Service Manual – 1044 Pages
Original price was: $59.85.$45.00Current price is: $45.00. -
Sale!
Claas QUADRANT 2200, QUADRANT 2200 ROTO CUT Repair Manual – 433 Pages of Factory Specs
Original price was: $100.10.$65.00Current price is: $65.00. -
Sale!
Claas AVERO 240, AVERO 160 2015 Repair Manual – Factory Specs
Original price was: $88.80.$60.00Current price is: $60.00.
Related products
-
Sale!

2011 Parts Catalog – International 7400 SFA 6X6 – 1886 Pages of OEM Part Numbers
Original price was: $32.00.$25.00Current price is: $25.00. -
Sale!

2011 Parts Catalog – International Truck OE Parts Documentation (1786 Pages)
Original price was: $34.50.$25.00Current price is: $25.00. -
Sale!

Technical Manual – International DT 530 & HT 530 (118 Pages)
Original price was: $37.00.$25.00Current price is: $25.00. -
Sale!

2004 Acura TSX Wiring Diagram – 73-Page Factory Electrical Schematics
Original price was: $15.88.$9.99Current price is: $9.99.
John S. –
Highly recommended! The pages are clean and well indexed. Contains clear schematics for Claas. Worth every penny.
Charles W. –
I am extremely satisfied with this purchase. Quick access after checkout process. A must-have for any Claas OM906LA, DIYer doing repairs. Saved my repair job! Thank you.
Richard G. –
Outstanding! The text is searchable and easy to navigate. A must-have for any Claas OM906LA, mechanic doing repairs. Saved my repair job! Thank you.