
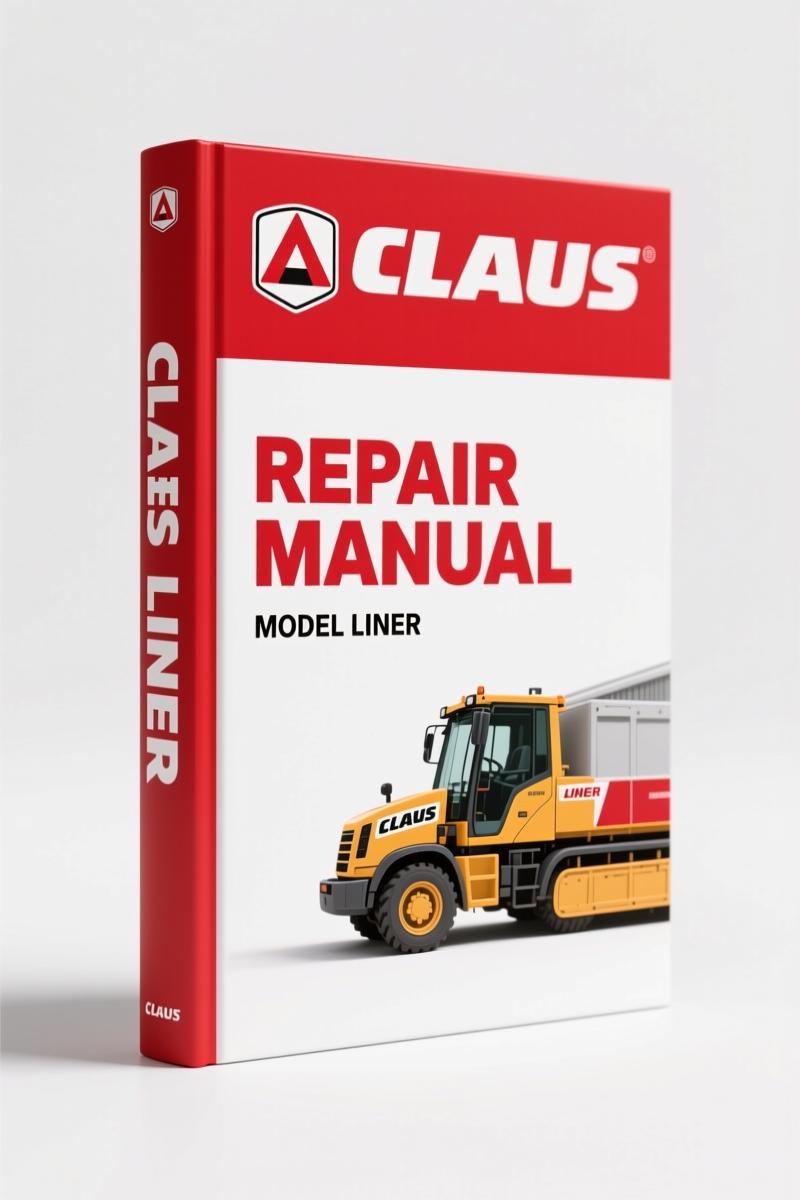
Claas LINER Repair Manual – 80-Page Factory OEM Service Document
Original price was: $29.91.$21.99Current price is: $21.99.
Factory-certified Claas LINER repair manual (80 pages) with full torque tables, gearbox disassembly, and CCN identification.
Description
Claas LINER Repair Manual
If you’re working on a Claas LINER tedder and don’t have the factory repair manual on the bench, you’re betting your parts budget on memory. I’ve watched guys torque a hydraulic fitting by feel, snap the ferrule, and then spend three hours bleeding air. That’s not repair – that’s gambling. The Claas LINER Repair Manual is 80 pages of OEM-sourced procedures straight from the Claas service department. No aftermarket rewrites, no skipped steps. Every torque value, every disassembly sequence, every safety notice was written by the engineers who designed the machine. If you’re serious about keeping a LINER 450 or 650 TWIN running without repeat failures, this is the only reference you need.
Torque Settings: Where Most Repairs Go Wrong
Torque specs are the difference between a seal that holds and a leak you find at 6 PM on a Saturday. This manual dedicates a full section to torque settings – metric standard threads, metric fine threads, hydraulic screw fittings with ferrule DIN 3861, O-ring and sealing cone DIN 3865, SDS and SDE connectors, hollow screws, brake line fittings, worm drive hose clamps, and even tyre torque. Each table lists Nm values directly from the Claas engineering drawings. You’re not guessing – you’re following the factory specification that the assembly line used. Page 22 of the manual begins the torque charts, and you’ll find yourself tabbing that page before you start any job involving hydraulics or driveline fasteners. Work with these numbers, not your calibrated elbow.
Gearbox Overhaul: Factory Procedure for the 0230 Mechanical Gearbox
Go into the 0230 Mechanical Gearbox section (chapter 02) and you get work preparation steps, disassembly, assembly, and cam track installation for swath gearboxes with 11, 12, and 14 tine arms. This isn’t a generic gearbox guide – it’s specific to the LINER series. You’ll find torque values for the transfer gearbox and main gearbox, plus step-by-step instructions for setting the cam track timing. If you’ve ever had a Manual Transmission lock up because a bearing spacer was installed backward, you understand why factory procedure matters. The manual tells you the order of shims, the preload specs, and the inspection points for gear tooth contact patterns. Skip those steps and you’re pulling the gearbox again in 200 hours.
Why Safety Warnings Are the First Thing You Read
Safety warnings in this manual aren’t filler. The General Information section covers first aid measures, the risk of injury from hydraulic fluid (injection injuries are no joke), proper jacking procedures, welding precautions, and what to do before leaving the machine. Every time I see a tech bypass a lockout procedure, I think of the hydraulic line that blew in my shop last year – a 10,000 psi pinhole leak that could have cost someone a hand. The manual tells you to depressurize the system before disconnecting any fitting. That’s not a suggestion; it’s a written directive from the manufacturer. Follow it. If you need to reference a Manual Transmission service process, the safety section also applies when working on driveline components.
General Repair Instructions: Self-Locking Bolts, Chains, and Hydraulics
You might think you know how to install a taper ring fastener or tension a steel roller chain. The manual still covers it – because Claas found that 40% of field failures come from incorrect fastener reuse and chain slack. There are dedicated subsections for self-locking bolts, liquid locking compound application, chain connector orientation, gib head key joint procedures (dismounting and installation), lock collar bearings, adapter sleeve bearings, chuck bushings, circlips, ferrule fittings, sealing cone fittings, and hydraulic hose line placement. Every one of those procedures appears in the Table of Contents. The repair instructions include technical specifications and information on economic repairs – meaning they show you which parts are reusable and which must be replaced. That’s the kind of detail that keeps a repair from turning into a parts cannon.
Who Needs This 80-Page Manual?
For the DIY owner with a single LINER 350 S, the manual covers your model from serial number 60101001 onward. For a shop that sees LINER 420, 450, 500, 550 T, 650 TWIN, 680, 750 TWIN, 1250 PROFIL, 2600, 2700, 2800, 2900, 3000, 3100, 3500, and 4000 – this one book covers all of them. The CCN explanation chapter (CLAAS Component Number) helps you decode electrical and hydraulic system standards across the model range. You need this manual if you’re disassembling a swath gearbox, replacing a hydraulic hose, or checking torque on a wheel bolt. It’s also the right reference when you’re working alongside a Claas LINER DISCO CORTO Service Manual – OEM Factory Specs or a Claas ROLLANT 66, ROLLANT 46 2002 Repair Manual – Torque Specs & Procedures if you have other Claas equipment. For baler-specific work, the Claas ROLLANT 250 / 250 ROTO CUT Repair Manual – 260 Pages is a separate but essential companion.
OEM Print vs Aftermarket Copies
Factory documentation from Claas is printed on demand from the original PDF – not scanned, not recopied, not “enhanced” by a third party with their own torque opinions. The manual you receive is the same 80-page document that Claas service centers use. The Table of Contents is intact: Introduction with General Information, General Repair Instructions, Torque Settings, CCN Explanation, Safety, and the 02 Gearbox chapter. Every heading matches the physical bookmarks in the PDF. Aftermarket manuals often drop the safety section or merge torque tables. This one doesn’t. What you see in the TOC is what you get on the page.
- Does this manual cover the LINER 680?
- Yes, including the LINER 680, 680 L, and 680 PROFIL models with serial numbers starting from 60301001.
- What torque spec is used for hydraulic fittings?
- The torque settings chapter lists tightening torques for hydraulic screw fittings with ferrule DIN 3861, O-ring and sealing cone DIN 3865, SDS and SDE connectors, swing fittings, hollow screws, and brake line screw fittings. All values are in Nm – you’ll need to convert to ft-lbs for your inch-pound torque wrench if you’re working in Imperial units. The manual does not provide Imperial equivalents, so keep a conversion chart handy.
- Is there a section on electrical systems?
- The CCN (CLAAS Component Number) chapter covers electrical systems standard and hydraulic system standard, which helps identify component numbers and wiring prefixes. However, this is a repair manual focused on mechanical and hydraulic systems, not a full wiring diagram manual. For detailed electrical diagnostics, you would need the Claas electrical service documentation specific to your LINER model.
- How many pages?
- 80 pages.
Access the Factory Manual and put an end to guesswork. Whether you’re rebuilding a swath gearbox or torquing hydraulic fittings, the Claas LINER Repair Manual keeps your repair on factory spec – and your machine in the field, not in the shop.
Additional information
| Brand | Claas |
|---|---|
| Language | English |
3 reviews for Claas LINER Repair Manual – 80-Page Factory OEM Service Document
You may also like…
-
Sale!
Claas DOMINATOR 108 VX & 88 VX Service Manual – 1044 Pages
Original price was: $59.85.$45.00Current price is: $45.00. -
Sale!
Claas AVERO 240, AVERO 160 2015 Repair Manual – Factory Specs
Original price was: $88.80.$60.00Current price is: $60.00. -
Sale!
Claas Quadrant 1200 1993 Repair Manual – Factory OEM Specs
Original price was: $101.50.$70.00Current price is: $70.00. -
Sale!
Claas QUADRANT 2200, QUADRANT 2200 ROTO CUT Repair Manual – 433 Pages of Factory Specs
Original price was: $100.10.$65.00Current price is: $65.00.
Related products
-
Sale!

1994 Troubleshooting Manual – International 1000-4000 FBC
Original price was: $60.00.$50.00Current price is: $50.00. -
Sale!
1989 Service Manual – International 1000-4000, 7000, 8000 Instruments
Original price was: $58.80.$40.00Current price is: $40.00. -
Sale!

2011 Parts Catalog – International Truck OE Parts Documentation (1786 Pages)
Original price was: $34.50.$25.00Current price is: $25.00. -
Sale!
1996 Operators Manual – International 1000-4000 Series (246 pages)
Original price was: $15.28.$9.99Current price is: $9.99.
Charles W. –
Highly recommended! The scan is high-quality and well indexed. A must-have for any Claas LINER mechanic doing maintenance. I will recommend this shop to others.
pro_mechanic –
This is just what I was looking for. Instant access after checkout process. Every wiring layout is provided for Claas LINER. Saves me so much dollars.
John S. –
Highly recommended! It is easily zoomable on my phone without losing quality. A must-have for any Claas LINER DIYer doing maintenance. Saved my repair job! Thanks.